

PowerCLI 6.5.1 has been released and in this release VMware have made some big changes to the way you install and keep up to date with PowerCLI! This update was all based around Microsoft PowerShell deployment models
As of PowerCLI 6.5.1, you no longer have a MSI file to download and install. You can now install directly from the PowerShell Gallery! This update streamlines the install process in multiple ways and allows module based features which PowerShell users will be used to from other PowerShell based additions.
Getting Started
The first step in moving to this new release is to uninstall any prior versions of PowerCLI which may be installed on the system by the old MSI installer, this is needed to move to the new distribution model
Checking to ensure the “PowerCLI” folder has been removed from the following directory: C:\Program Files (x86)\VMware\Infrastructure\
Online Installation From a Computer with an Internet Connection
Find-Module -Name VMware.PowerCLI
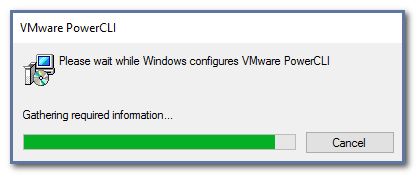
Install-Module cmdlet to make PowerCLI actually available yout system.
Install-Module -Name VMware.PowerCLI –Scope CurrentUser
You will notice we’re only installing it for the current user, we do this because it doesn’t require admin access! If you would like it available for all users of the computer, your PowerShell session will have to be running as an administrator, and PowerCLI will automatically be installed for all users by changing the Scope parameter to AllUsers.
Leave a Reply